Beautiful Cornices
|
|
Cosmopolitan Outside Mount Cornice Kit FAQs 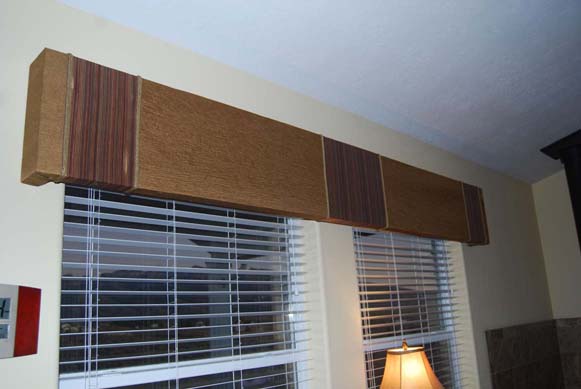
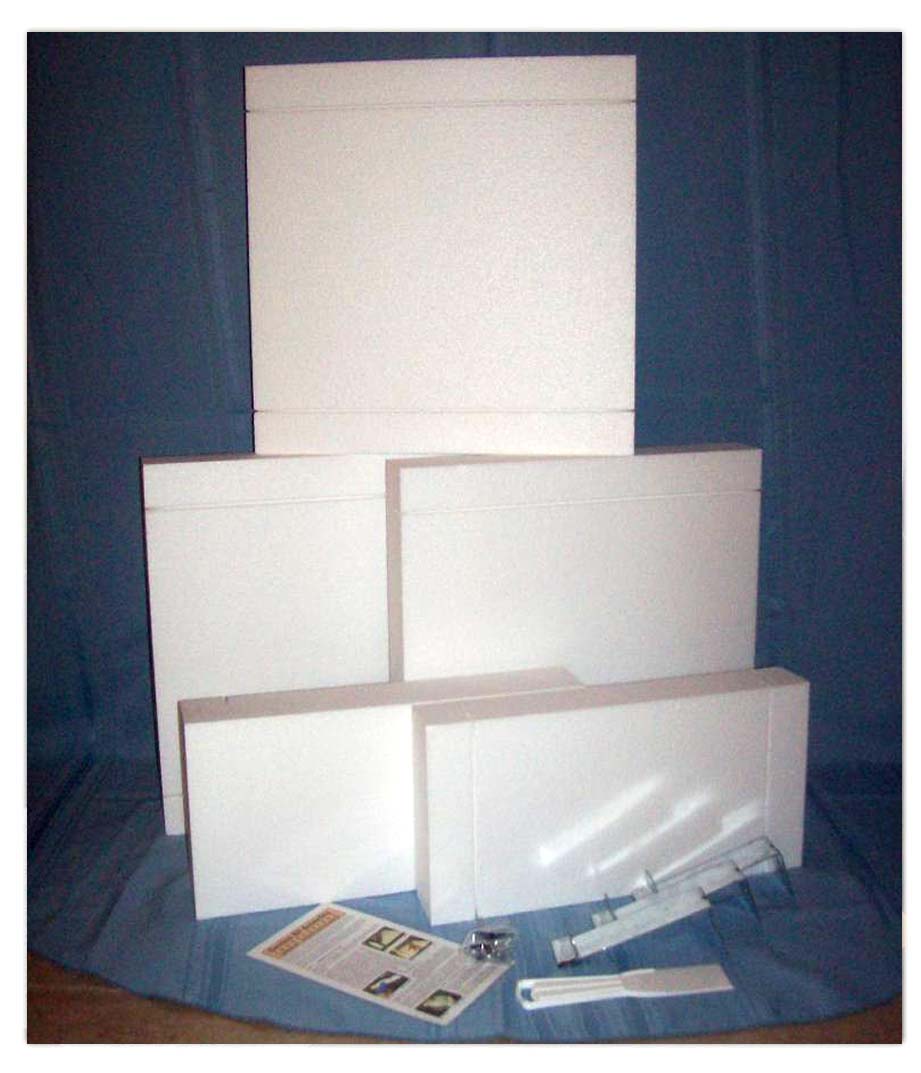
Since there is no need to glue or staple the fabric to the cornice, you are able to change the color/pattern of the fabric as often as you change the decor in your home - it's like having a whole new cornice! Please to see how easy it really is. Light weight, expanded polystyrene (Styrofoam) sections are simply glued together with a full regular low temperature glue gun (200 - 250 degrees Fahrenheit) to create your special cornice for any size window or door. We do not recommend using a mini glue gun because you will not be able to apply enough glue quick enough to achieve a good bond. Check our , , and for your cornice project, or other projects. How do I determine what height (drop) to order? The Cosmopolitan Cornice is offered in 6", 9", 12", and 15" drop (height) in any width that you need (up to 50’).
To determine what length Cosmopolitan Cornice to order, measure the inside of your opening and add 1-4" on each side - this is called the overlap. 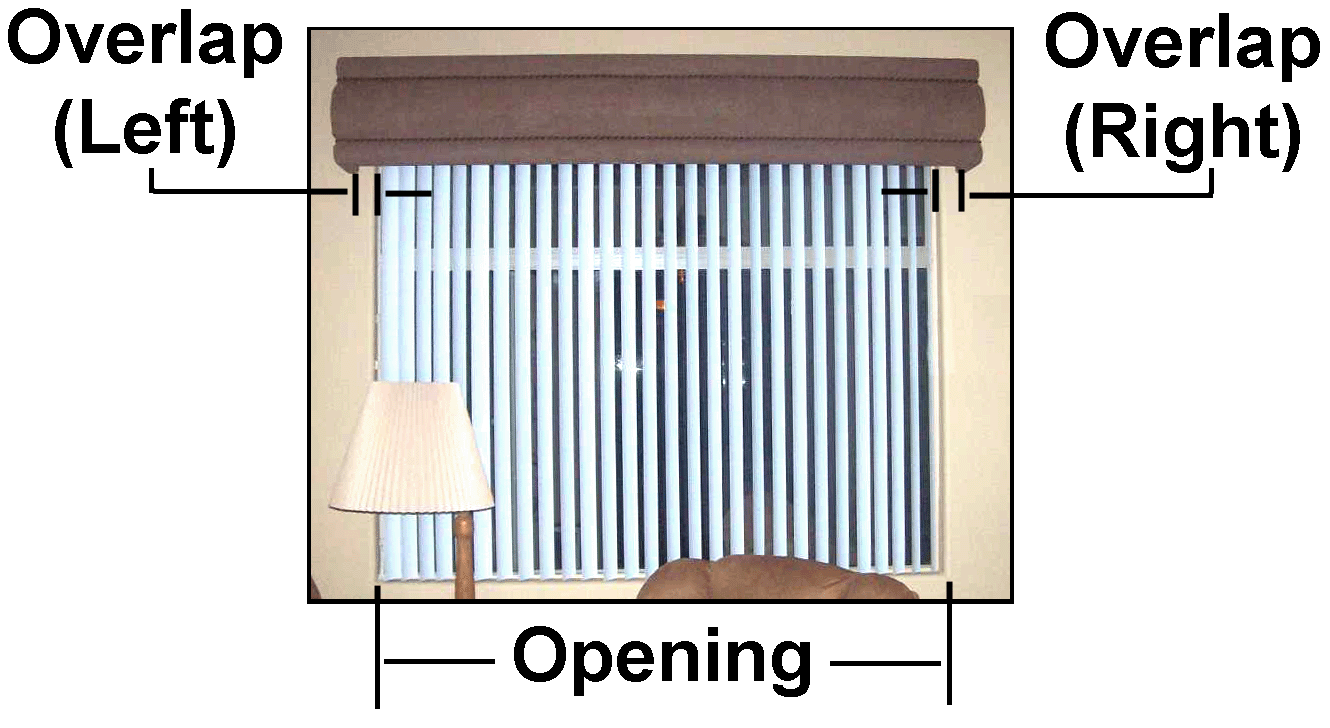 But, if your opening has moulding around it, measure the outside of the moulding on the left side of your opening to the outside of the moulding on the right side of the opening and add 1". But, if you have a curtain rod or vertical blind rail that your cornice will be covering, measure the length of the rail and add 1". Pick the longest measurement from above that applies to your opening, and this will be the inside measurement of your Cosmopolitan cornice. The outside length of your Cosmopolitan Cornice is the inside measurement PLUS the thickness of the 2 end caps. Since each Cosmopolitan end cap is approximately 2" thick in the center, the outside length is approximately the inside measurement PLUS 4". What is a Starter Kit?
What if I need a longer cornice than the 33" - 48" opening Starter Kit? If your opening is wider than 48", then you would order the following to achieve your desired length: Please use the following chart to help you to determine what to order for your cornice:
Can the cornice be cut specifically for my opening? As explained above, the sections that are glued together are 16" in length. Most times the length of the opening plus the overlap on each end results in a desired length that is not a multiple of 16", requiring one of the pieces to be cut to the appropriate length. The process that you would use to cut one of the cornice pieces is to:
How are the cornices attached to the wall? 5" brackets and corresponding End Caps are provided with our kits. This means that there is 5" of clearance between the wall and the back of the cornice. You may wish to substitute 3" brackets for the standard 5" brackets to move your cornice closer to the wall, providing a 3" clearance. If you would like to replace your Standard 5" Brackets and End Caps with 3" Brackets and End Caps, the charge is an additional $3.00 for each cornice. Select 5" Brackets or 3" Brackets when adding your item to the shopping cart. While our 3" or 5" brackets will be perfect most of the time, occasionally you may need custom made brackets for your application. We have made custom brackets as short as ⅛" and as long a 10". We will make them for you using the standard 5" brackets that are provided with your kits; this price includes removing styrofoam from the end caps if shorter than 5", or providing extension pieces that you will glue onto the end caps to accommodate brackets that are longer than 5". If you would like to substitute your Standard 5" Brackets and End Caps for custom brackets and End Caps, the charge for each bracket is $5.00. The price for extra Custom Brackets is $8.45 per bracket. What if I have a Bay Window? 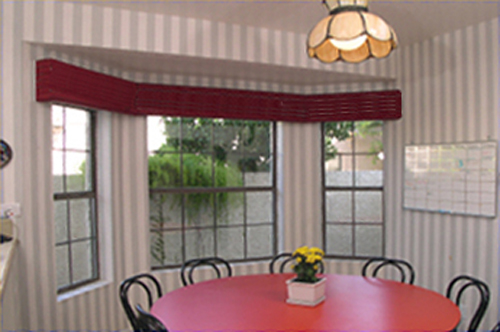
Installing individual cornices on each window on a bay window results in an unprofessional looking project. Installing a continuous cornice on all of the windows in a bay could be very tricky because of cutting the Styrofoam angles to match each angle in the bay. Our Bay Window Adapters are unique; this is the only easy solution to that tricky bay window dilemma. Our Bay Window Adapters make it super easy to accommodate those tough to measure angles. What if I have a Corner Window? 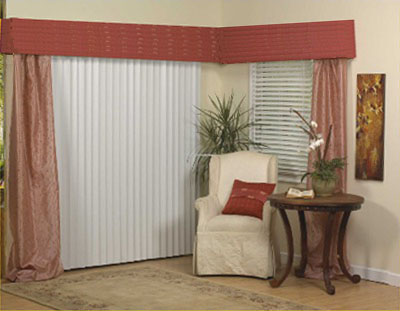
Installing individual cornices on each window on a corner window results in an unprofessional looking project. Installing a continuous cornice on both of the windows in a corner could be very tricky because of cutting the Styrofoam angles to match the angle in the corner. Our Corner Window Adapters are unique; this is the only easy solution to that tricky corner window dilemma. Our Corner Window Adapters make it super easy to accommodate those tough 90° angles. What if I have just need some End Caps? Some customers save their scrap pieces and unused pieces from previous cornice projects, and just need to order End Caps. |
 
|
|
     
Copyright (c) 2009-2024 by the Cornice Store.
|
